 |
| Denver Public Library |
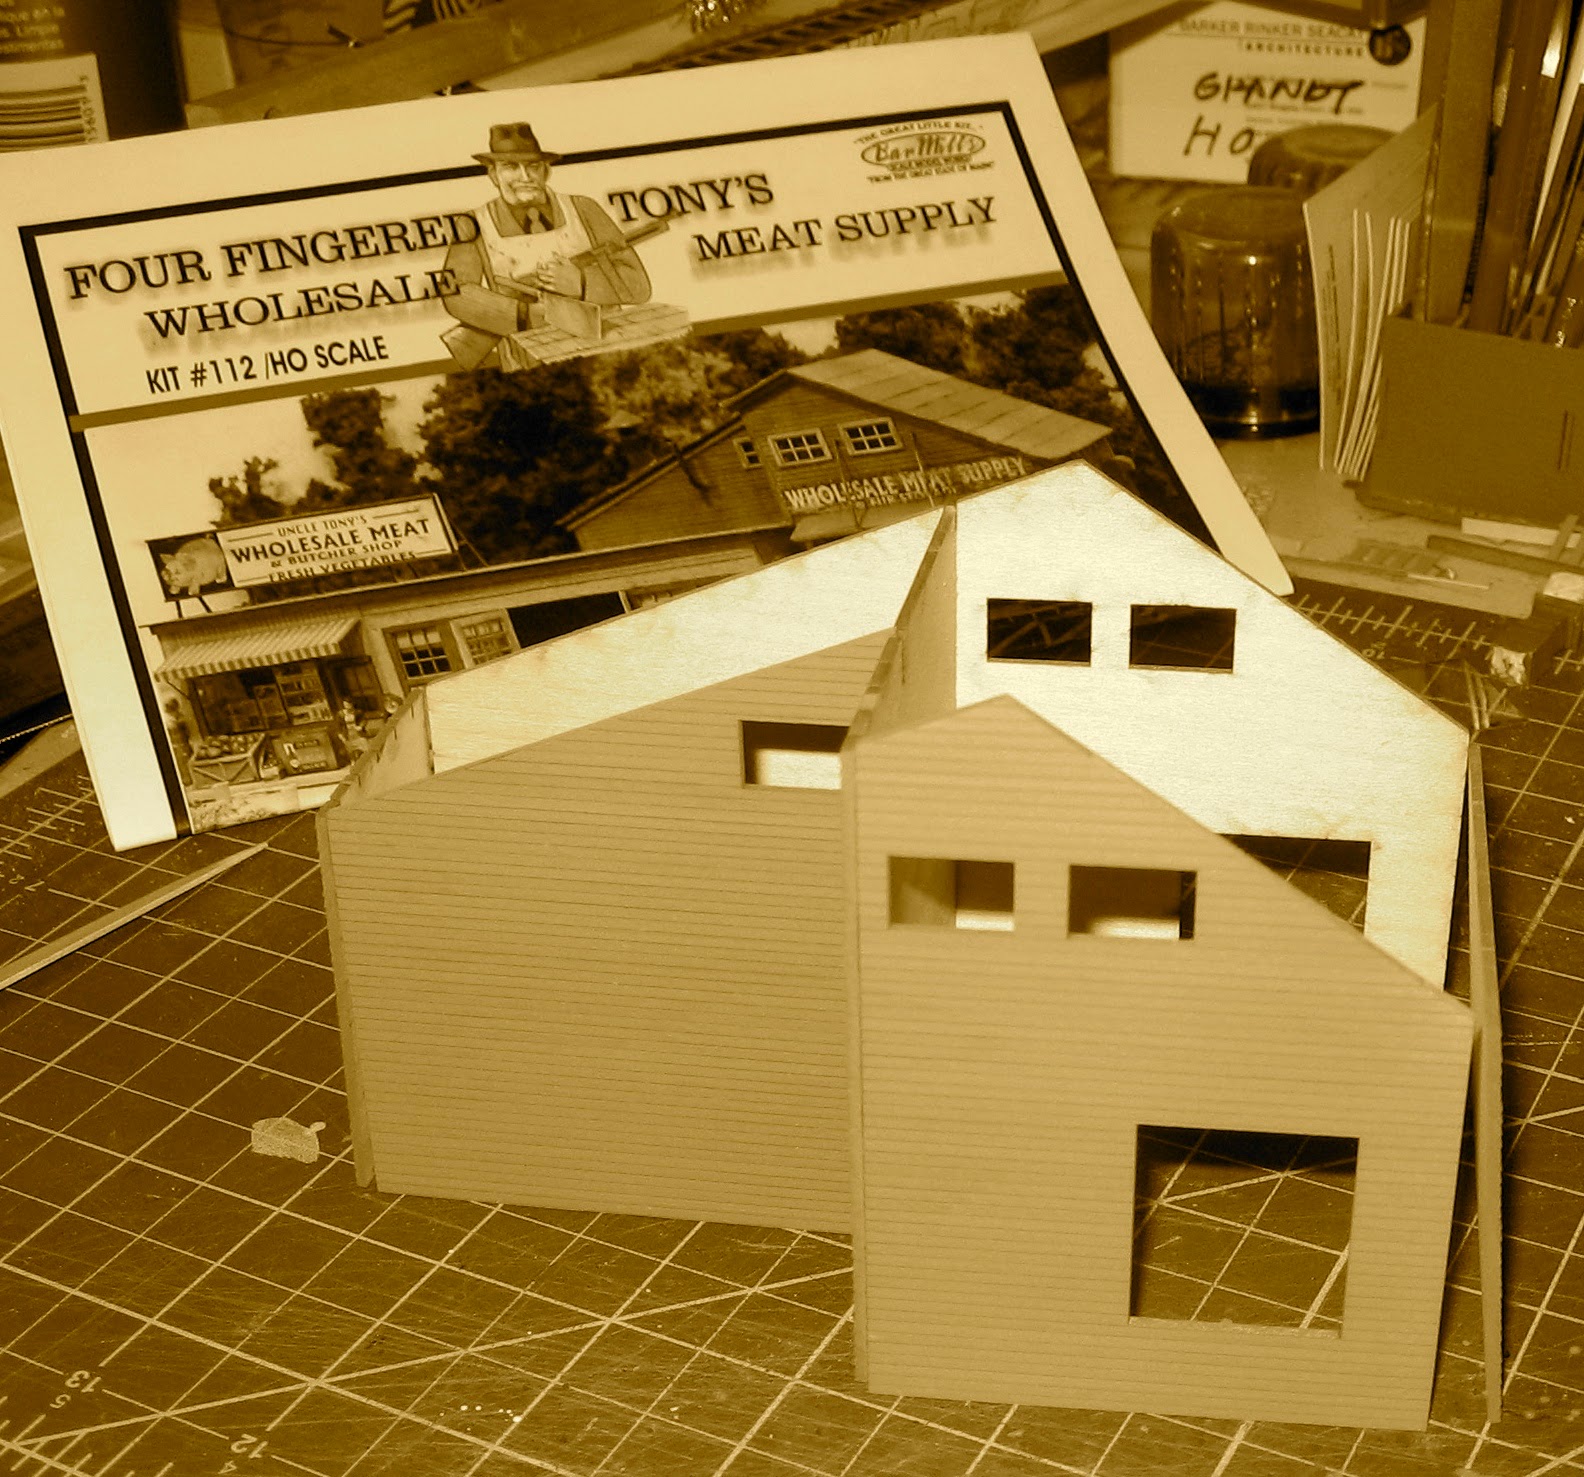
Keith Hayes - Remember I had gotten Four-Fingered Tony’s from Bar-Mills and used all the grocery parts for Carleno’s Grocery? Well, the model parts sat on my bench for a while and I got to thinking it had the makings of a mine. Back behind Hemlock Street I have a couple drain pipes that need hiding. Leadville slopes up to the mines east of town, and the Penrose mine can be seen south of the Leadville Depot in the title photograph (the Penrose will be the subject of a future model.). I thought of adding an HO mine on a hillside of tailings to contribute to the forced-perspective scene.
Due to the elevation, low temperatures and snow, Leadville
mines feature head frames that are fully sheathed, usually with a lower gable
below and a higher roof surrounding the head frame. Tony’s has two pieces, a low
shed and a slightly larger gabled building. I figured by adding a short tower
to Tony’s, I would have the form. The kit is an ‘L’ shape in plan, and I would
have liked the inside corner to face the front of the layout, but it was not to
be. Likewise I would like to have kept
the wood siding, but by the 30s, all the working mines were covered in
corrugated metal.
For this project, I ordered corrugated metal from Wild West.
This is a nice product with a silver finish; I followed the tips and sprayed
the strips of material with several colors of brown and rust. (Be sure to paint
more than you need and account for laps—I did not and had to paint a second
batch.) Next I cut the strips into eight foot lengths, and glued this to the
wood substrate, work from the bottom up, and one side to the other.
Once again, a Grandt kit solved a problem for me. The
Wentamuck Mine has a slew of great parts, including a couple structures, log
cribbing, mine track and ore cars. There is also a small head frame I may use
elsewhere on the layout in the future. I called Grandt and also ordered some
extra cribbing and track, which yielded a second ore car. I cut some foam to
form the tailing piles, and pieced together the cribbing to hold it in place.
What is great about this cribbing is that the castings have realistic
dead-men (the logs that extend back into the hill to hold the wall into place).
The foam was painted with tan latex paint, into which I sprinkled sand. Last I
covered the surface in sifted tailings. Studying photos of cribbing, note that
water leaches the minerals out of the rock and across the timbers, so be sure
to add some stains of yellow and red to cribbing.
I used the track to layout some trestles to distribute the
tailings. These were built up from styrene stock, and I glued the track to the
top. The assembly got painted with the tan camo paint and then detailed with
washes of craft paint.
Keith Hayes
Leadville in Sn3


Post a Comment